ThinkPHP8安装
首先介绍开发环境与使用到的软件
环境:Composer + php8 + Nginx 1.25.2 + mysql5.7.26
框架:ThinkPHP8
软件工具:小皮面板、PhpStorm
Composer安装
小皮面板 安装这里就不再进行介绍了,直接进入Composer安装,因为我使用的是windows11系统所以没办法直接使用的是 Composer-Setup.exe
安装完成后运行 终端 或是常说的cmd
输入 composer 当出现下面的代码表示安装成功了。
   ______
  / ____/___  ____ ___  ____  ____  ________  _____
 / /   / __ \/ __ `__ \/ __ \/ __ \/ ___/ _ \/ ___/
/ /___/ /_/ / / / / / / /_/ / /_/ (__  )  __/ /
\____/\____/_/ /_/ /_/ .___/\____/____/\___/_/
                    /_/
Composer version 2.8.9 2025-05-13 14:01:37

Usage:
  command [options] [arguments]

Options:
  -h, --help                     Display help for the given command. When no command is given display help for the list command
  -q, --quiet                    Do not output any message
  -V, --version                  Display this application version
      --ansi|--no-ansi           Force (or disable --no-ansi) ANSI output
  -n, --no-interaction           Do not ask any interactive question
      --profile                  Display timing and memory usage information
      --no-plugins               Whether to disable plugins.
      --no-scripts               Skips the execution of all scripts defined in composer.json file.
  -d, --working-dir=WORKING-DIR  If specified, use the given directory as working directory.
      --no-cache                 Prevent use of the cache
  -v|vv|vvv, --verbose           Increase the verbosity of messages: 1 for normal output, 2 for more verbose output and 3 for debug

Available commands:
  about                Shows a short information about Composer
  archive              Creates an archive of this composer package
  audit                Checks for security vulnerability advisories for installed packages
  browse               [home] Opens the package's repository URL or homepage in your browser
  bump                 Increases the lower limit of your composer.json requirements to the currently installed versions
  check-platform-reqs  Check that platform requirements are satisfied
  clear-cache          [clearcache|cc] Clears composer's internal package cache
  completion           Dump the shell completion script
  config               Sets config options
  create-project       Creates new project from a package into given directory
  depends              [why] Shows which packages cause the given package to be installed
  diagnose             Diagnoses the system to identify common errors
  dump-autoload        [dumpautoload] Dumps the autoloader
  exec                 Executes a vendored binary/script
  fund                 Discover how to help fund the maintenance of your dependencies
  global               Allows running commands in the global composer dir ($COMPOSER_HOME)
  help                 Display help for a command
  init                 Creates a basic composer.json file in current directory
  install              [i] Installs the project dependencies from the composer.lock file if present, or falls back on the composer.json
  licenses             Shows information about licenses of dependencies
  list                 List commands
  outdated             Shows a list of installed packages that have updates available, including their latest version
  prohibits            [why-not] Shows which packages prevent the given package from being installed
  reinstall            Uninstalls and reinstalls the given package names
  remove               [rm|uninstall] Removes a package from the require or require-dev
  require              [r] Adds required packages to your composer.json and installs them
  run-script           [run] Runs the scripts defined in composer.json
  search               Searches for packages
  self-update          [selfupdate] Updates composer.phar to the latest version
  show                 [info] Shows information about packages
  status               Shows a list of locally modified packages
  suggests             Shows package suggestions
  update               [u|upgrade] Updates your dependencies to the latest version according to composer.json, and updates the composer.lock file
  validate             Validates a composer.json and composer.lock
安装到这里还不算完成,接下来需要换源 一般换源有 阿里云源 、腾讯云源 、华为云源 我使用的是腾讯云源,阿里云总是少东西导致运行错误。
在 终端中输入
> composer config -g repo.packagist composer https://mirrors.cloud.tencent.com/composer/到这里基本composer就算安装好了。
下面就可以安装ThinkPHP8了。
ThinkPHP8 安装
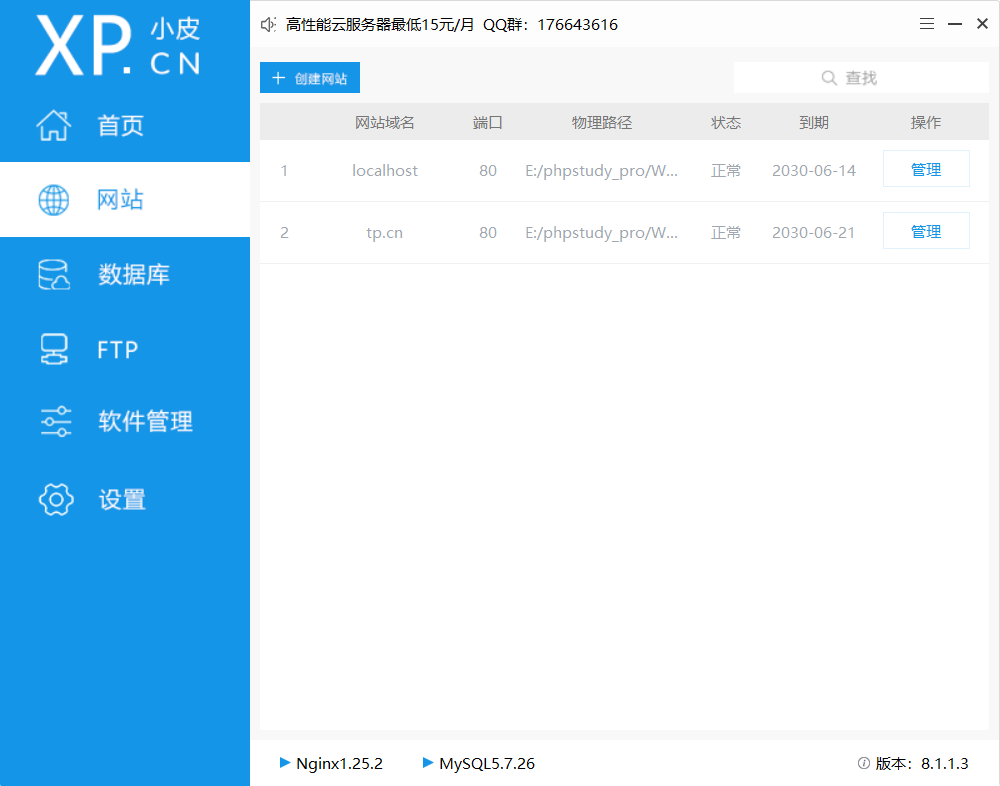
首先进入小皮面板开启 Nginx 和 mysql
在网站下新建网站
比如我写的域名是tp.cn和www.tp.cn 建立好的时候它就会将这两个域名指向本地127.0.0.1IP
我的小皮面板安装在E盘所以我进入我的小皮面板网站根目录
这时会看见 WWW根目录中有两个文件夹一个是小皮安装自带的默认站点文件夹一个是我刚建立的tp.cn文件夹
这时点击右键启动终端
官网给出的安装命令如下:
composer create-project topthink/think tp由于我们的网站文件夹是tp.cn,所以这里写命令时候就不能是上面的命令了,上面的命令中tp代表的是文件夹名称,所以我们将tp修改成tp.cn
composer create-project topthink/think tp.cn当文件安装完成后,我们浏览tp.cn这个地址会显示报错
修改小皮设置
对小皮进行设置,第一步
修改站点的根目录,因为thinkPHP的对外访问接口目录public
在网站页面下,点击think的网站后面的管理
管理->修改
这时网站根目录是E:/phpstudy_pro/WWW/tp.cn
浏览修改成 E:/phpstudy_pro/WWW/tp.cn/public
这个时候进入网站已经可以浏览了但是对后续来说,还是有问题的因为ThinkPHP是一个需要伪静态运行 这里需要进行修改因为我们是Nginx的点击管理伪静态中输入下面的内容保存。
location ~* (runtime|application)/{
    return 403;
}
location / {
    if (!-e $request_filename){
        rewrite  ^(.*)$  /index.php?s=$1  last;   break;
    }
}
保存。
然后你输入域名就可以访问think的初始页面了。到这里算是基本完成。
ThinkPHP8 扩展功能安装
上面已经安装完成并可以正常访问ThinkPHP的站点后,bilibili站点的教程就会开始介绍如何与layui一起开发页面了。
但是当你跟着bilibili教程视频去一步一步的在view中创建html页面后,当你去按照视频一样浏览的时候,你会发现视频上人家的页面浏览正常,而你的页面确实显示报错。
这是什么原因呢?bilibili教程中关键内容都已经删除掉了。
因为从ThinkPHP6以后view、与build 两个命令就变成扩展安装命令了。如果你想通过控制器浏览view网页模板就绪要进行下面的命令安装
composer require topthink/think-view这个安装完成后通过控制器的命令中就可以访问view中的页面了我使用index类的的代码演示
class Index extends BaseController
{
    public function index()
    {
        return view();
    }
}
这是return返回的就是view下的页面比如说我是index那么就是访问/view/目录下的index目录,因为方法名是index那么我就是访问/view/index/index.html文件。
多应用自动创建应用目录常规文件 扩展的安装
bilibili教程视频中看见别人输入 php think build demo 就可以在app目录下创建一个demo的应用文件目录自己输入这个命令就是无效的,显示错误未找到该命令。
这里我们需要看官方的手册,官方手册 框架 中 多模块和多应用 这节中有介绍 如果要使用多应用模式,你需要安装多应用模式扩展think-multi-app。,这也是bilibili所谓的讲师不给讲的地方。他们都会剪辑掉这块的内容。
在你想使用多模块和多应用时 由于thinkPHP6以除了基本功能外其他都写成了扩展功能需要单独安装
你需要E:/phpstudy_pro/WWW/tp.cn 站点根目录下运行终端输入一下命令:
composer require topthink/think-multi-app安装完成后php think build的命令才能使用。
到这里,我们才算基本功能安装完成开始二次开发。